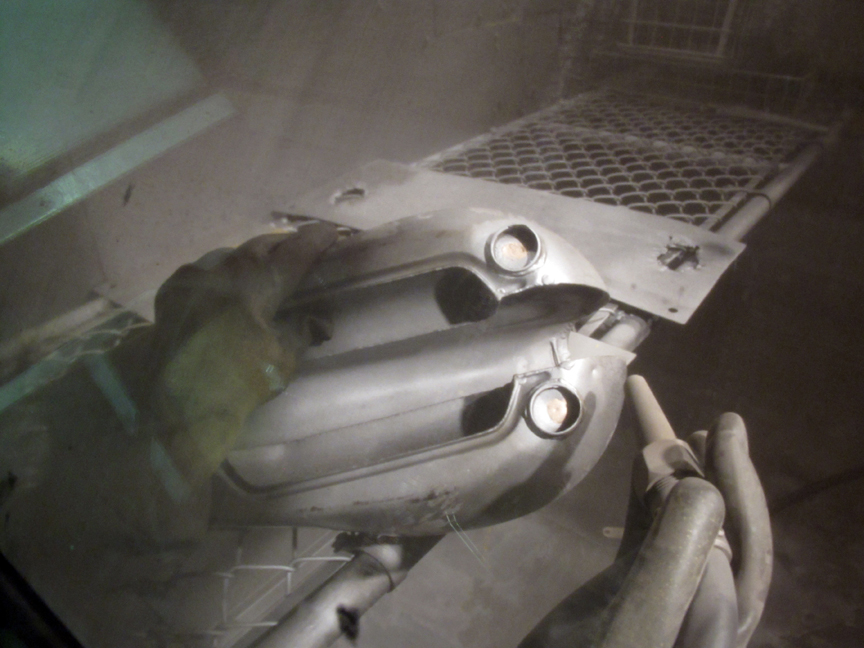
In a previous post, we showed how we begin preparing a tank for paint by burning off all existing paint, body filler, and tank sealer.
We’re not fans of tank sealer, as it eventually fails. We prefer to find and weld leaks shut, and ensure our tanks are properly repaired for the long term.
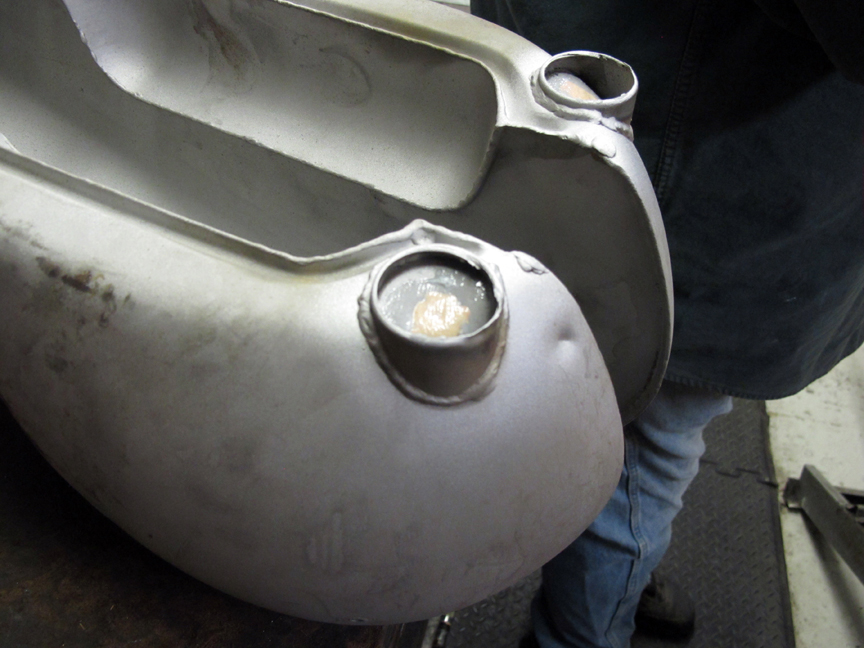
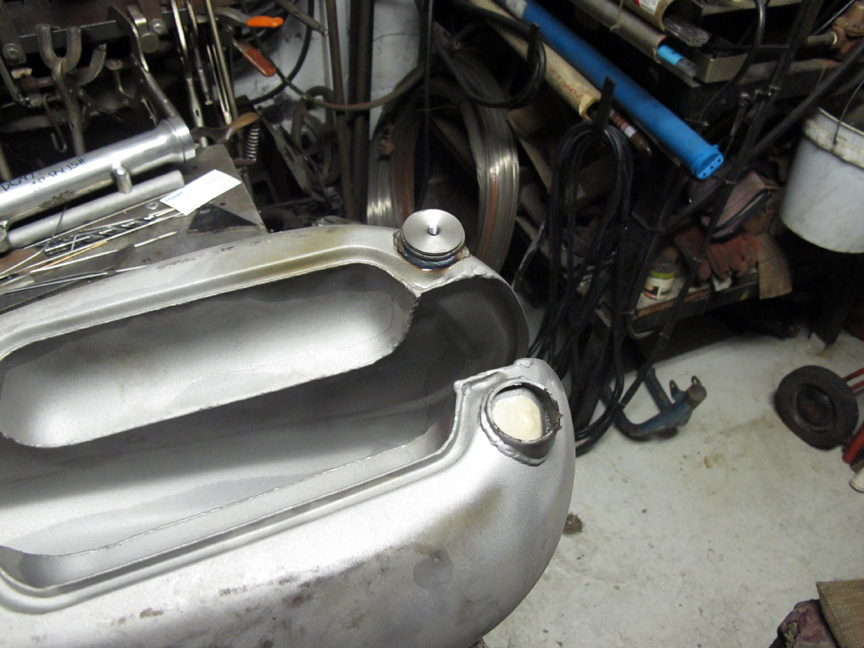
We recently performed some repairs on a tank which had a faulty repair carried out in it’s lifetime on the mounting studs. The original studs had broken off, and in their place were badly misaligned heli-coils with incorrectly threaded studs. To make matters worse, the new studs were too long, and punctured the tank when installed. The owner then soldered around the base of the studs in a poor attempt to fix the inevitable leaks.
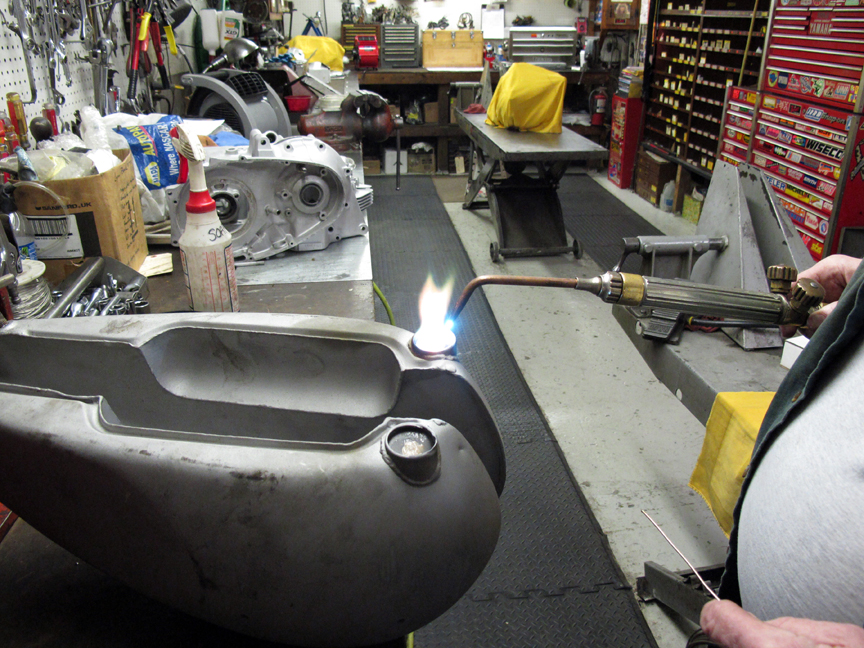
Our typical repair involves removing the faulty studs and bottom caps altogether, and then sealing the holes completely with white brazing flux (which we also use, incidentally, to seal leaks around the filler neck).
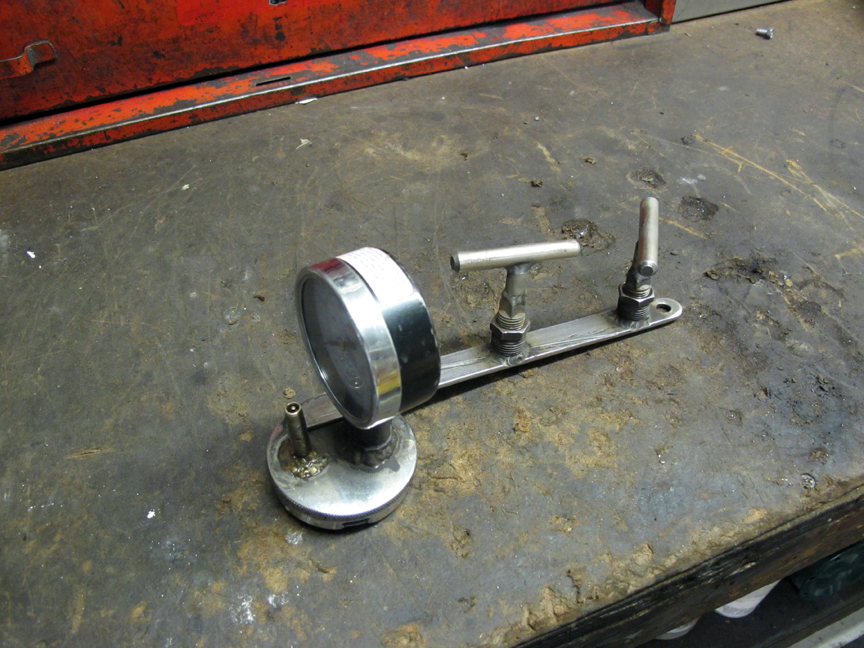
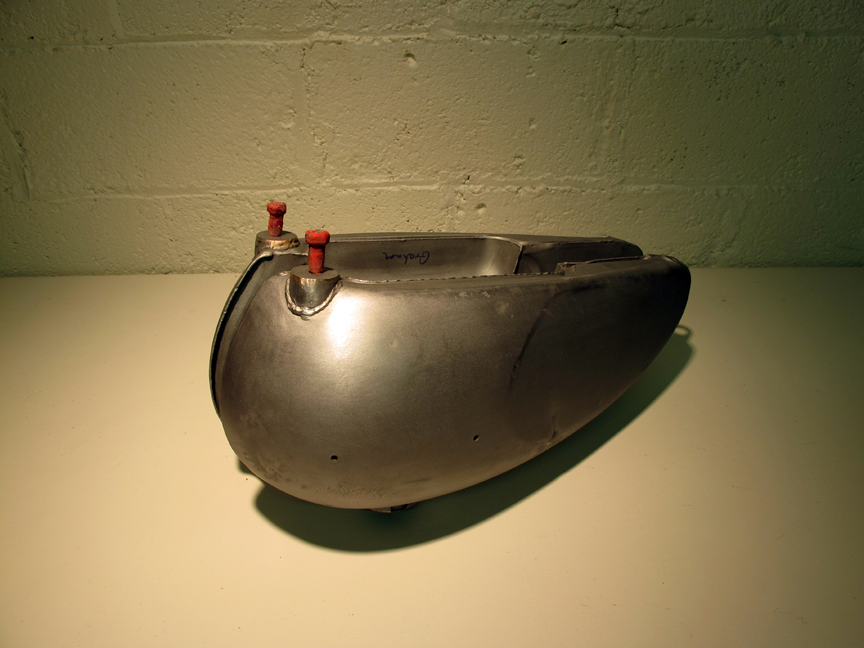
Once the leaks are thought to be sealed, we use our gas cap pressure test assembly pictured below to ensure no leaks remain. We affix the cap to the tank, pressurize it with air, wet the outside of the tank, look for bubbles, and re-solder pinholes as necessary.
Finally, we weld and tap new bottom caps which will accept the proper studs. The end result is long-lasting and undetectable.
[fb-like]

